
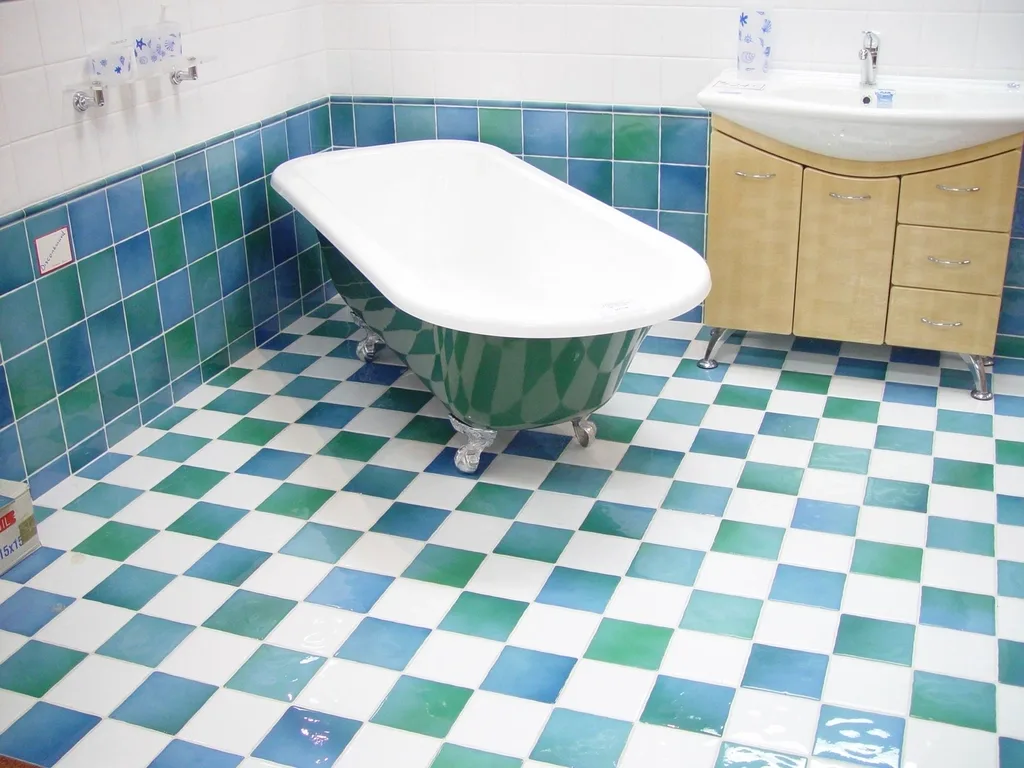
The villa walls were up to 18 mm out of square. The chequerboard was set out from the doorway sightline, so the pattern looks true when you walk in and the error is lost along the far wall.
Project overview
A square pattern in a room that isn’t square.
A heritage villa restoration with a chequerboard floor, a clawfoot bath and a blue glass mosaic shower. The architect specified materials to suit the 1910 house.
Project scope
- 01Chequerboard floor tile
- 02Plywood and cement-board subfloor
- 03Glass mosaic shower wall
- 04Clawfoot bath zone
- 05Heritage-style skirting junction
How the work is done
A controlled sequence, not guesswork on the wall.
Every stage is checked before the next begins — the finish is only as good as the work underneath it.
- 01
Assess the substrate
Check flatness, junctions, fixtures and wet-area readiness before the layout is committed.
- 02
Set out the complete room
Balance tile courses and control visible cuts, corners and transitions.
- 03
Fix and align
Maintain adhesive transfer, consistent joints and alignment across adjoining surfaces.
- 04
Finish and inspect
Complete grout, movement joints, silicone and a final cleaning check.
Project gallery
Overall view and installation details.
Photographs are shown in working order. Select any image to view it full screen.
Planning something similar?
Request a quote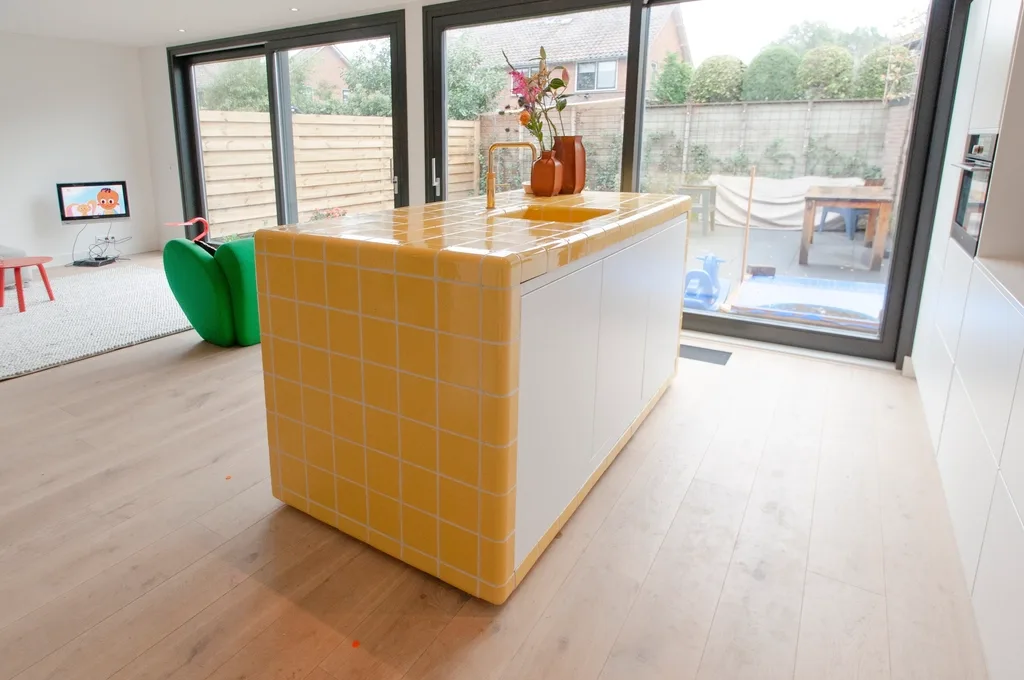
Next projectWestmere tiled kitchen island↗